
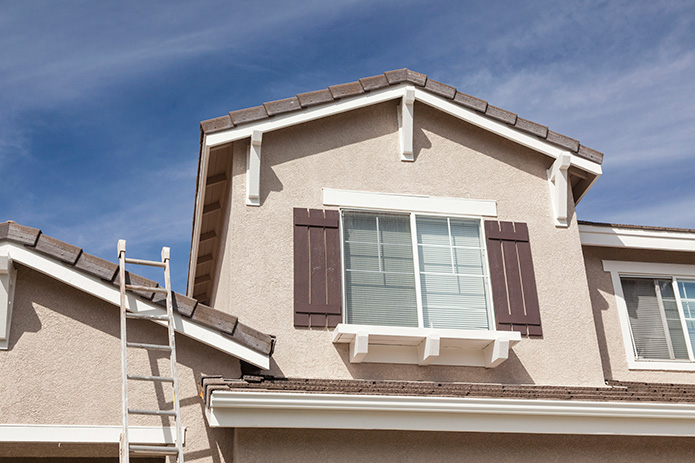
Spring is here and you are ready to spruce up the exterior of your home. Exterior vinyl shutters are on your list and you can’t wait to adorn your home with them. Custom ordering shutters online was the easy part. You picked your style and color and before you know it, you have boxes that are sitting on your porch with the shutters you ordered. Your exterior vinyl shutters are ready to be installed.
How do you install decorative exterior vinyl shutters?
Follow these 5 easy steps and enjoy the beautiful and inviting look of your previously unadorned windows!
Step 1 – Place the shutter next to the window and mark desired location against the wall or window.
Step 2 – For smaller sizes use four Shutter-Loks per shutter. For large sizes 55″ and over, use six Shutter-Loks per shutter.
Step 3 – To help ensure proper alignment mark or pre-drill holes using a 1/4″ drill bit into the shutter before
Step 4 – With the shutter in location against the wall, drill through the shutter into the wall surface 3 1/4″ deep. Make sure you drill holes deep enough, so the Shutter-Lok doesn’t bottom out.
Step 5 – Grasp the Shutter-Lok supporting shank and push it through the shutter hole and into the wall surface. Tap the Shutter-Lok gently with a hammer to snug the shutter against the siding. Do not over tighten, or this will cause the exterior shutter to dimple. Also, please note:
To remove shutters do not attempt to pull out the Shutter-Loks. Simply use a pair of snips and slide them behind the shutter to cut the Shutter-Lok off at the shank. Additional Shutter-Loks can be purchased separately.
Installing exterior vinyl shutters on your home is an affordable way to give your home a new, updated look while increasing its value. EAP Custom and Standard Sizes Exterior Vinyl Shutters are 100% made and assembled in the USA. The absolute best components and Designer Colors that last a virtual lifetime. Call today for a consult!